This is the walkthrough of my latest car modeling project. In here I'm going to focus on how I model the car body, except interior and other small parts.
I started from the hood using a small polygon plane. Then I extrude the front and left edges few times until it matches the lines of the blueprint.
Then I created the hood using another polygon plane
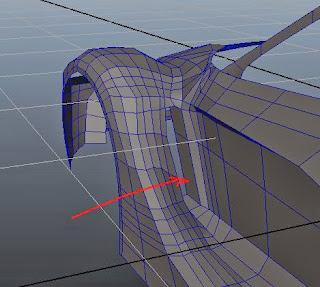
Making the holes using the edge extruding. In here I have to keep close attention to the topology. I have to merge unconnected vertices of the mesh to get the correct shape.
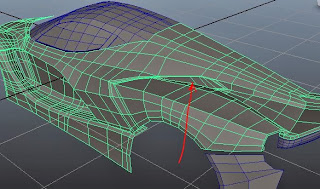
Creating the left side of the car. I have to use edge loop tool to make extra edges along the blueprint lines.
Making a another hole using the extrude function.
Creating lines using the edge loop tool.
Creating the rear side of the car. I have used box for panels and cylinder for the rear light. I have to extrude rear faces of the cylinder to make light cover. You can also make this light shape using nurbs and the revolve function if you are familiar with nurbs.
Making the front side of the car.
Making the front light using polygon boxes and spheres.
Adding edge loops to make hard edges of the car body.
Making the tire and the rim using nurbs/revolve function and polygon cylinder. I have extruded the faces of the cylinder to make the rim. Hard edges are created using the edge loop tool.
After that I mirror the objects.
Smoothing the car.
This is my final render using mental ray.


great job bro!
ReplyDeletethumbs up!!!