Saturday, March 23, 2013

Maya facial animation using Zbrush

                                 
                             In this post I'm going to show you how to create a facial animation using Maya and Zbrush. You can do a facial animation using joints but this method is very useful when you going to do very smooth and sharp animation. In here I'm going to do small smile animation.

Sunday, February 10, 2013

How to handle dielectric material

                     
                               You can create dielectric material and assign it to object, but it is not the correct way. You cannot handle special attributes like photons. Because of this we have to use Maya default material. In this post I'm going to show you how to do it.

Saturday, February 9, 2013

Creating topology in zbrush

                             When you are creating a game character you have to make it low poly. If your game character is high poly it may cause some problems when you are importing it to the game engine. Using zbrush topology tool you can create low poly model according to the actual high poly model.

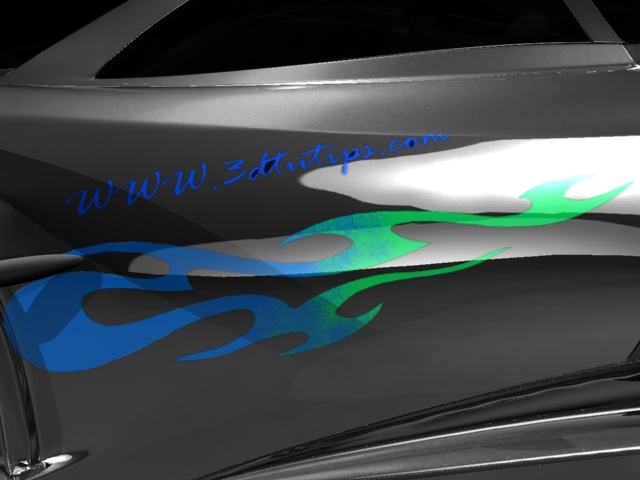
Adding vinyls to car paint material


                              Adding vinyls to car model is very easy when you are using Maya stock materials like blinn. You can use alpha maps directly through transparent attribute of the material. But when you go to mi car paint material you have to use layered shader and surface shader. Before go through this tutorial you have to create a vinyl texture and and alpha map because I'm not going to show it here.

Wall/Glass destruction using DMM in Maya


                          In this post I'm going to show you how to destruction wall/glass using dmm plugin. In my previous post I talked about some destruction methods using nDynamics but this also good for smashing objects.

Car dust


                         First open your scene and set rendering method as mental ray. Otherwise you cannot render it clearly because we use mental ray car paint material. Make sure that you have already load mental ray plugin.

Text animation with destruction


                               In this tutorial I'm going to show you how to create a text animation using nDynamics in Autodesk Maya. In here we use text destruction method for text animation. Most text destruction animations are used in a game or movie or company logos.

Particle Streaks


                                 In this post I'm going to show you how to create particle streaks. You can use this method in sci-fi or mystery movie animations. In here we are going to use nparticles, not particles.

How to render animations in Maya

                             First got to render settings and select the render type. We are going to render the animation in a sequence, not in a single file. So choose the file format, In here I choose Maya IFF. But if you are rendering a high quality animations in mental ray you may use OpenEXR. Choose extension for the animation and set animation range. Select your renderable camera.

Changing the playback speed in Maya


                             Playback speed is the most important thing when you are designing a real time animation with sound. Now lets see how to change it.
                              Go to Window->Settings/Preference->Preference or click on the red blue icon on the range slider panel.

Car paint material


                              When you are rendering a car with default mi_car_paint material you can see little noisy scratches on your car body. You have to do some little modification. In this post I will discuss about the mi_car_paint material.
                                First create the material and assign it to your car. Go to attributes editor  and set the Base Color and Lit Color. These two colors must be little bit different. Increase Lit Color Bias little bit if you want. Increase Diffuse Bias to 2.000. Set edge color to dark grey.

                                Scroll down and expand Specular Parameters. Set color to a light red(depends on your base color). Set weight to 0.5 and Spec Exp to 80.0.
 

                                 Then we have to modify Flake Parameters. Set flake color to light grey.
Flake Weight-1.2
Flake Reflect-0.05
Flake Exp-120
Flake Density-0.3(increase this parameter if you want)
Flake Strength-0.8
Flake Scale-0.01(this value depends on your car scale)

                                You can see the material is more realistic than previous. No need to change any reflection parameters. If you are going to render your car on exterior scene, change the reflection parameters of your choice.

Adding materials and plants to vue scene


                                   In my previous post I talked about how to create a desert landscape using Vue. You can go to my previous post by clicking here.

Desert landscape for Maya


                            In my previous post I discuss about how to integrate Vue with Maya. If you didn't read it, go to my previous post by clicking here. Now lets see how to create a simple terrain.